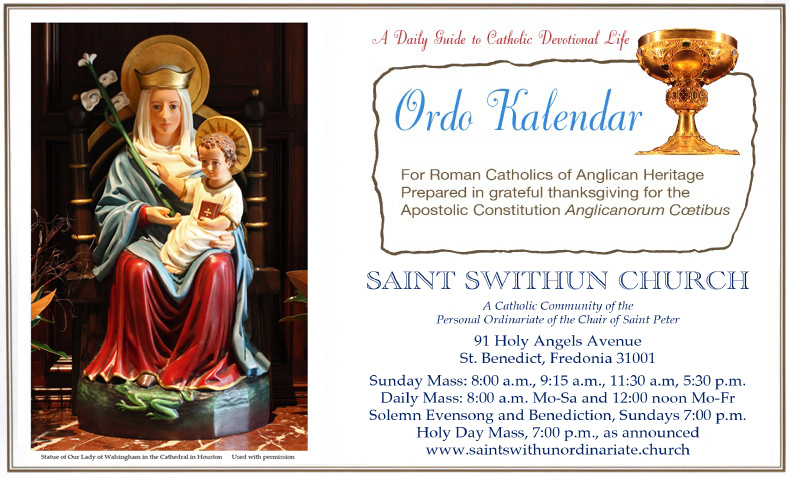
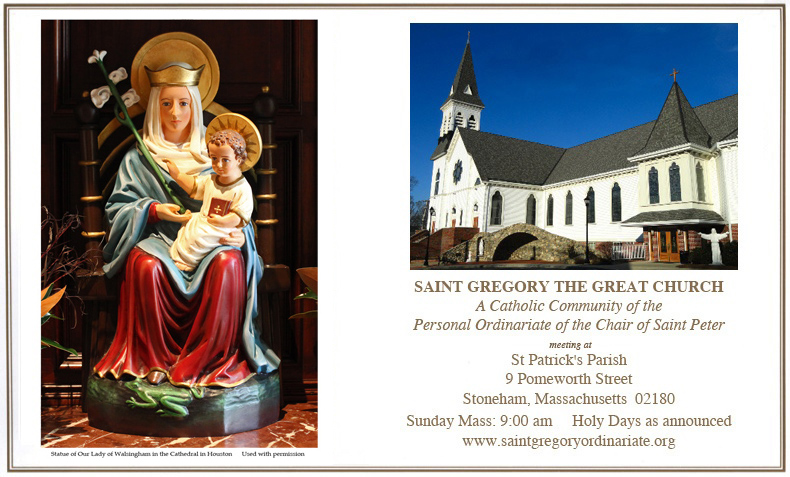
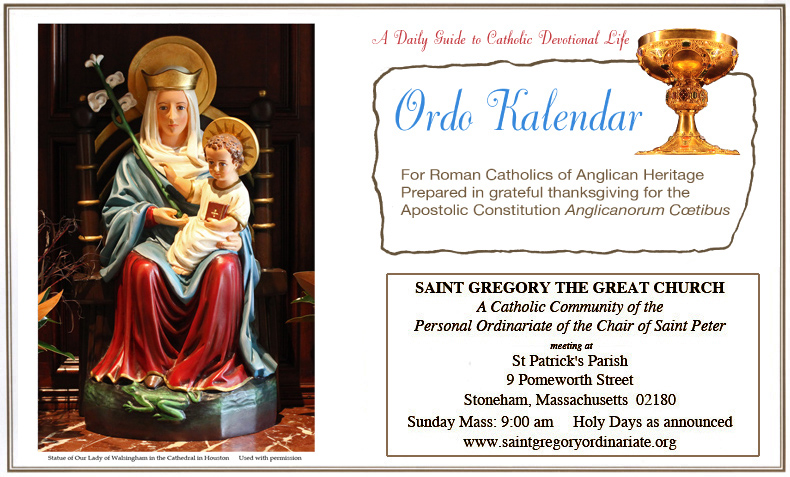
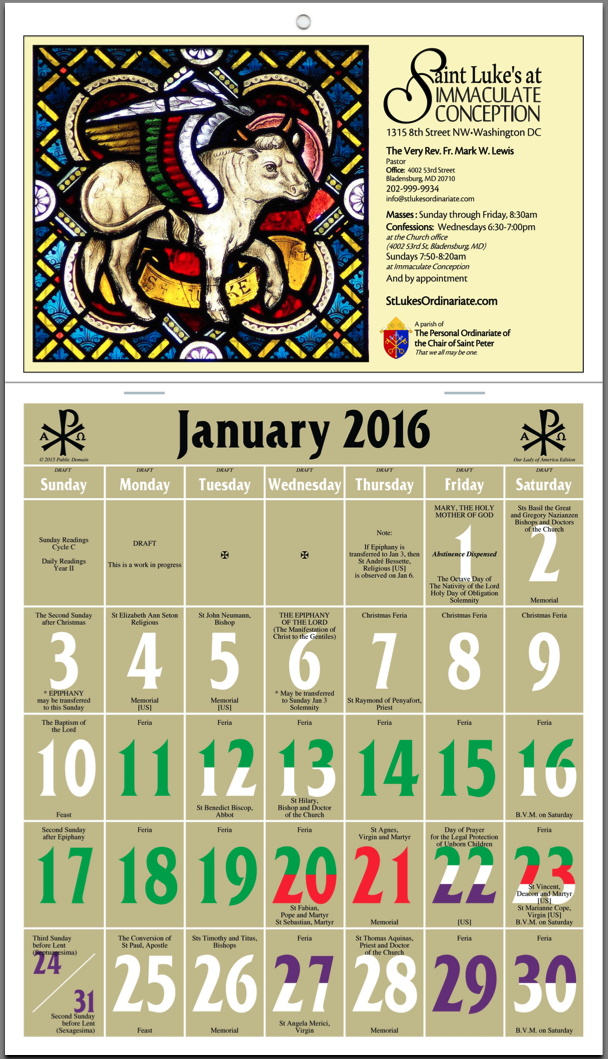
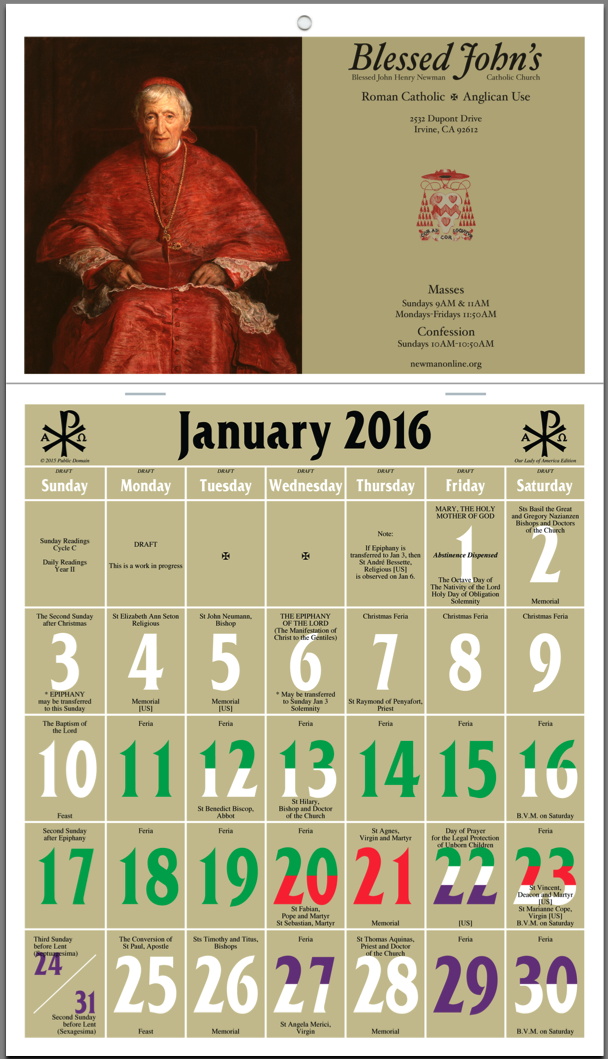
Ordo Kalendar Personalization
Scroll Down to the Resolution Tutorial
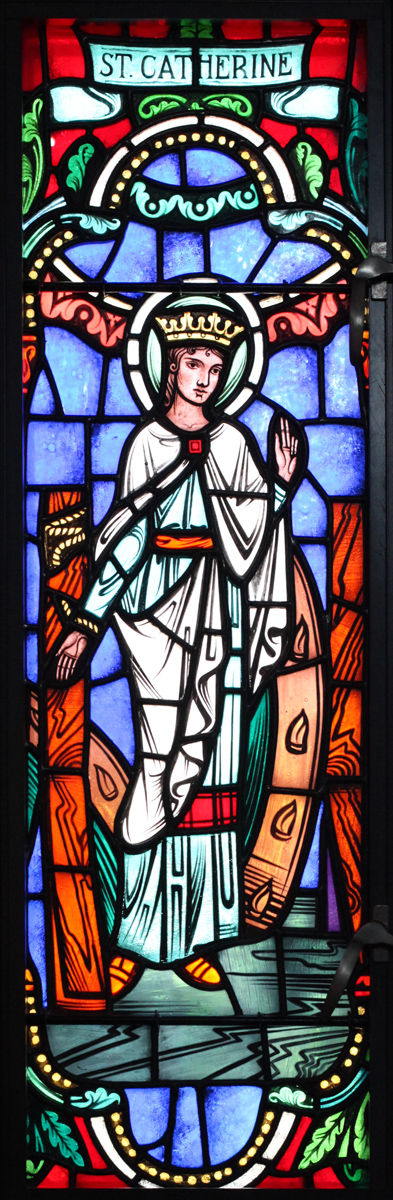
Guideline: For acceptable print quality, a picture the size of the church picture should be about 925 pixels wide. A picture as tall as the statue of Jesus and Peter should be about 1240 pixels tall.
The sizes above are to the edge of your content and do not include the
margins. The calendar is 7.875 in wide.
The examples below show exactly how the Option C personalization image will
be positioned on the calendar. They show the wall-mounting hole, the
artwork, and the calendar pad with staples.
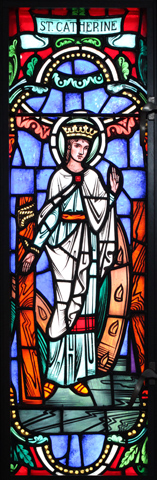
A Short Tutorial on ResolutionIn this tutorial I'll talk mainly about image resolution. I'll end by taking you all the way through to making a simple Option C personalization. I'm going to try to keep this as simple as possible.Feel free to call me to have me explain anything you don't understand. 978-263-5433 The image below is 157 pixels wide by 480 pixels high. This is a good height for display on a screen.
We think of "screen resolution" as 72 dpi (dots per inch), because that's what the old monitors were, back in 1990. Now most monitors are at least 96 dpi, and many high-end monitors have an even closer "dot pitch". So what does that mean? Hold a ruler up next to the picture. If you have a 72 dpi monitor, you'll probably see that it's about 6 2/3rds inches high. But I'll bet your monitor is 96 dpi, in which case the image will be about 5 inches high. But there's another factor: your browser could be set to scale things, and you could see it at some other size. I don't control your monitor, but I do control the printer we'll use to print the calendar. (Well, the print shop actually controls it, but we're working together.) Printers have a much higher resolution than computer screens. For an image to look sharp when printed, you need to have an image that is about 300 dpi. Let's say we want that stained glass window to be 4 inches tall in our personalization. That means we'll need an image that is 4 inches x 300 dpi tall, or 1200 pixels tall.
If all I have is that 480 pixel image, and I try to make it 1200 pixels
tall, it's not going to look very good.
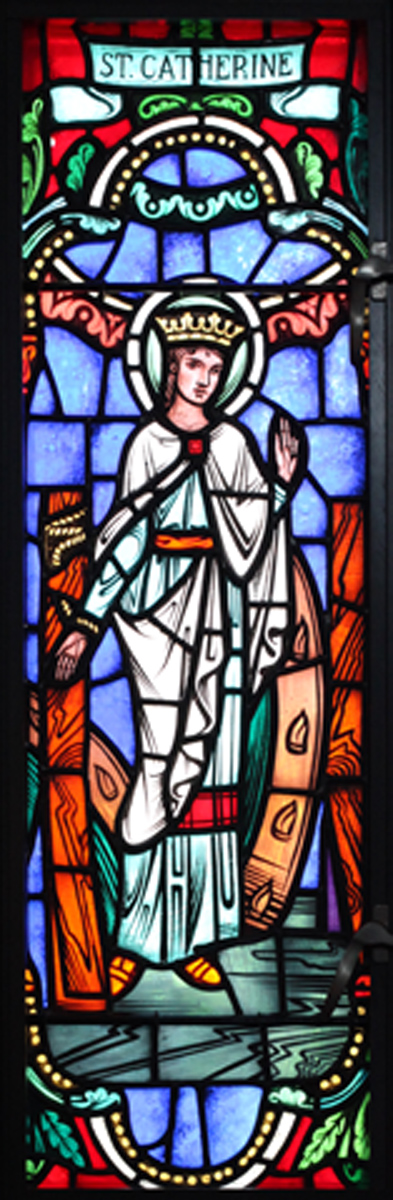
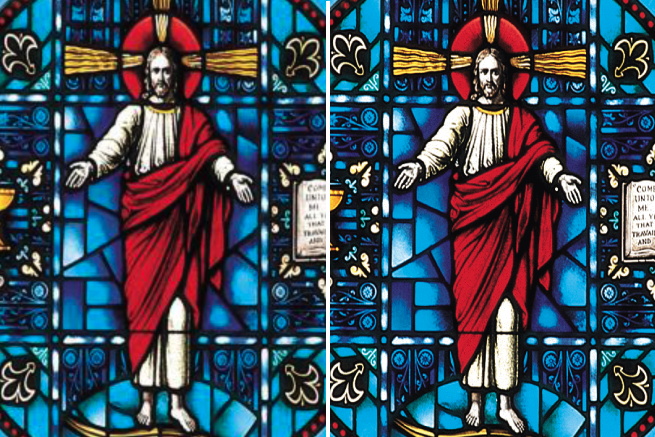
Even though I used the best software on the market to "upscale" the image from 480 pixels high to 1200 pixels, the one on the left is blurry and jaggy and you don't want your printed calendar to look like that. There are two or three solutions. If possible, you can go back to the original image before it was "downscaled" to 480 pixels. Otherwise you have to take a new picture or find a different picture. I'm lucky. I took the picture, and I have the original high resolution image, which was 3800 pixels tall. That means that with a 300 dpi printer, I could print that as large as 12 2/3rd inches, which is great when I only need 4 inches. The image on the right is the original image rescaled to 1200 dpi. You can see the difference in sharpness. You can also see that to get a sharp 4 inch tall image on printed paper, it will need to be sharp at a much taller size on a computer screen. Both of the taller images are 1200 pixels tall, but the one on the right started out at least that tall, and you can really tell the difference. You can always remove detail by reducing the number of pixels. But you cannot recover lost detail when you expand an image that has less pixels than what you want. All those TV crime shows where they zoom in forever into a street camera picture and find a mole on someone's cheek three blocks away are baloney if the original image wasn't tens of thousands of pixels tall to start with. Now, to use this image in an Option C personalization, we use a simple graphic editing program.
The steps are:
You can Download the full size
JPEG and modify it, if you want.
Just one last little thing. In addition to resolution, there is
PDF compression or JPEG quality. If you're sending me a PDF, it is
important to turn off compression, and if you're sending me a JPEG, it's
important to save it as high quality, at least 11/12 or 95%. The image
on the left is the same resolution as the image on the right, but was
sent in a compressed PDF, and the quality was terribly reduced. I hope this has helped you understand what you need to do to make your personalization look the way you want. |